Project N5 Progress Update: 2023-10
My progress in October 2023. Updates are shown in chronological order.
Implementing RigidBody3D Character Movement
Today's task: reimplementing my player character as a RigidBody3D. In the example below, it is using CharacterController3D. I wanted to make this change to get more natural feeling movement and physics, particularly in carrying momentum.
oops i've had a bit of a tumble
This is the result of the RigidBody3D implementation in my character. I used a script from the following video, which served as a great base – the only good one I could find, in fact. Most people on the internet seem to want others to use CharacterController3D, and for good reasons; it's simple, it works, and it's easy to adjust and tweak, unlike a RigidBody3D. And so I had to admit: I wasn't happy with my implementation. I changed the script in large parts, only keeping a few segments, but it never felt quite like I wanted to. It felt too loose.
Godot 4.0: I solved my CharacterBody3d issues by using RigidBody3d for character movement!
RigidBody3D also greeted me with some bugs I had encountered in Unity but was initially spared from when I switched to Godot and its CharacterController3D implementation. A significant issue was the double jump; the character would often not be able to recognise that it had been grounded, and thus it would not allow the player to jump again. Another issue was glitching; the video shows how the character sinks into the ground briefly before jumping up. I have no idea why this happened.
Using a momentum-based character also introduces the issue of sliding up slopes and ramps with the carried momentum a little more than I would like.
And so, after 10 hours of implementing RigidBody3D, I decided to go back to CharacterController3D. I played a bit of Ratchet & Clank for reference, and decided that they might be using a RigidBody implementation (did a CharacterController even exist back then? Did their engine support that even?), but I could get closer to their movement more easily using a CharacterController and emulating a few momentum-based movements using lerps.
The effort was not in vain, however! I implemented the ground RayCast that was necessary for my RigidBody3D implementation in my CharacterController, which, together with a plane calculation, allows for adjusting the character movement velocity when moving on slopes! This corrects the player's uphill speed, and it also prevents jumpy movement when running down a slope! It's currently a little glitch-prone though, crashing the game when standing on Sans, for example, but I'll fix that soon.
Healthy
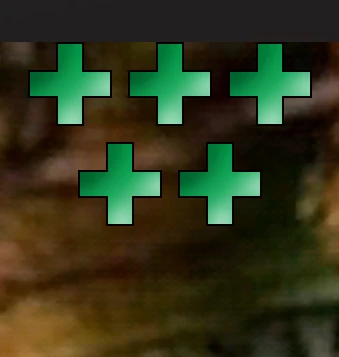
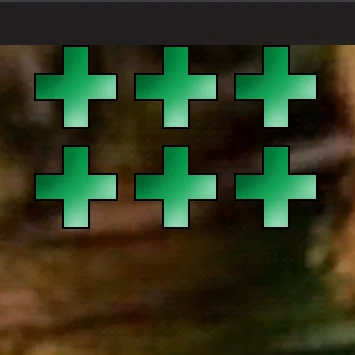
We now have health points! As it is currently set up, the health bar supports up to 8 health points. For testing purposes, I set up the melee attack to drain health, and the gunshot to heal the player.
The health bar even aligns properly for 5 and 6 max health points, reducing the max points displayed per line from 4 to 3!
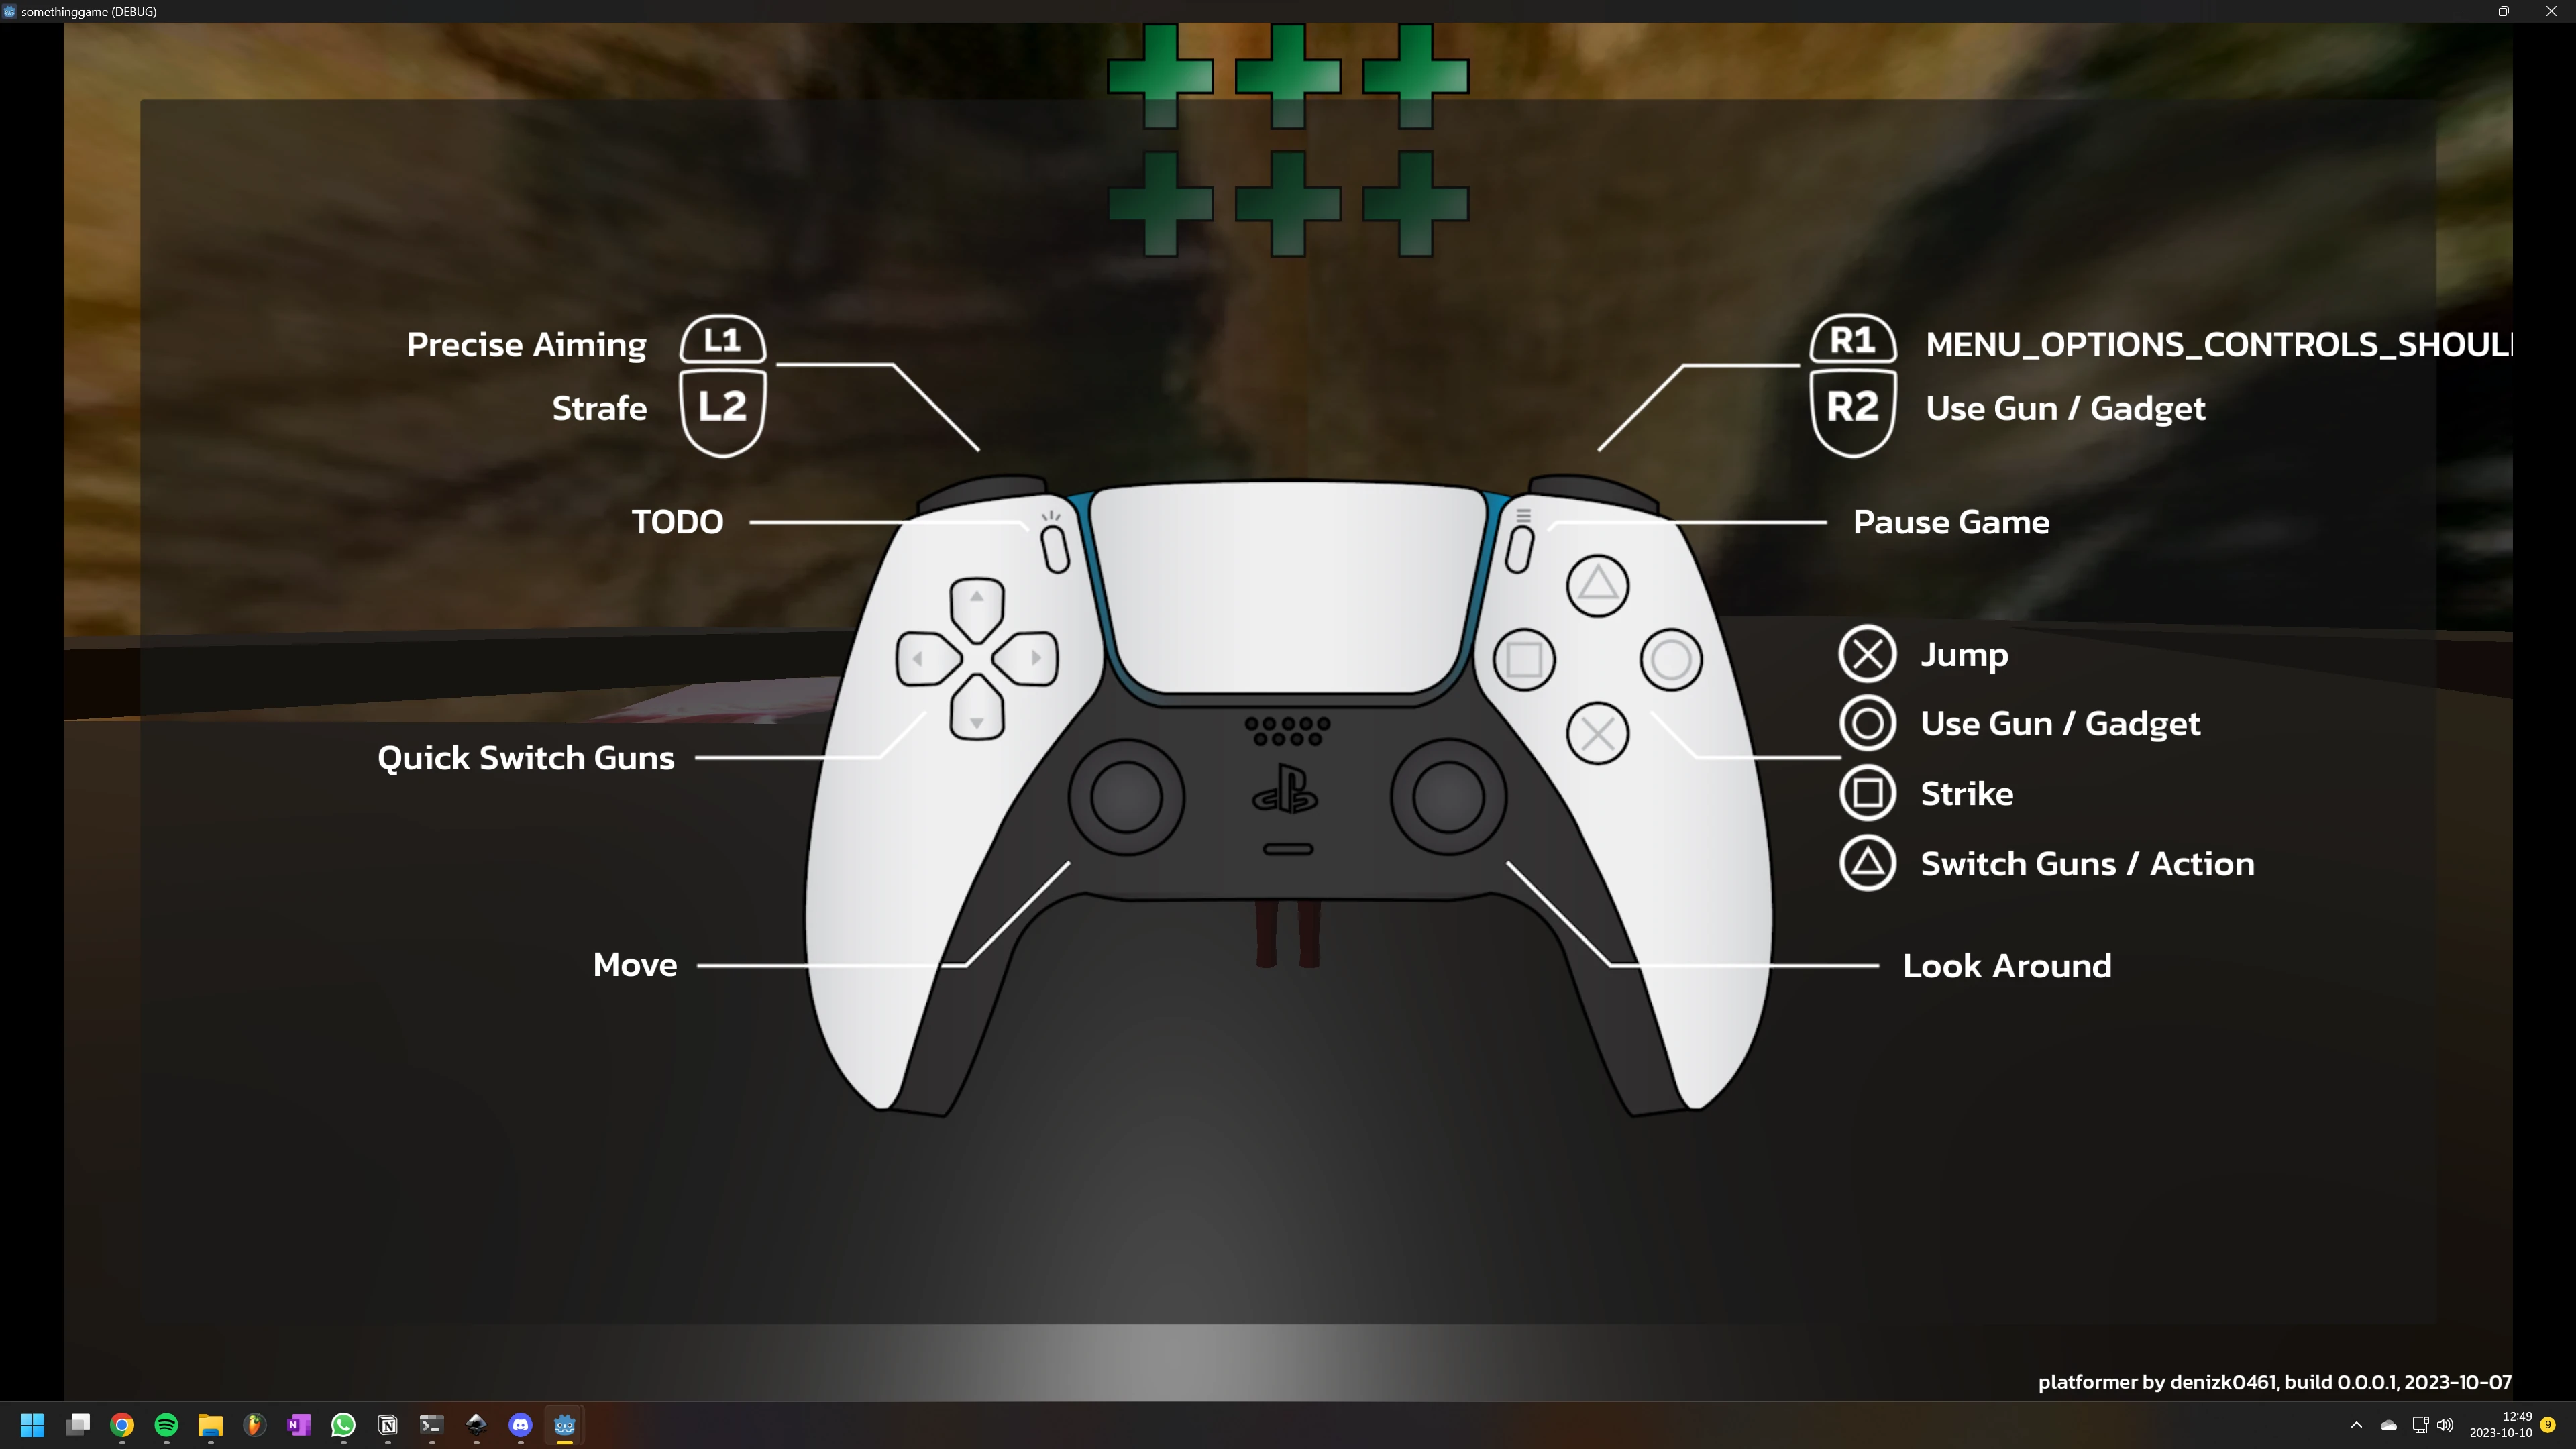
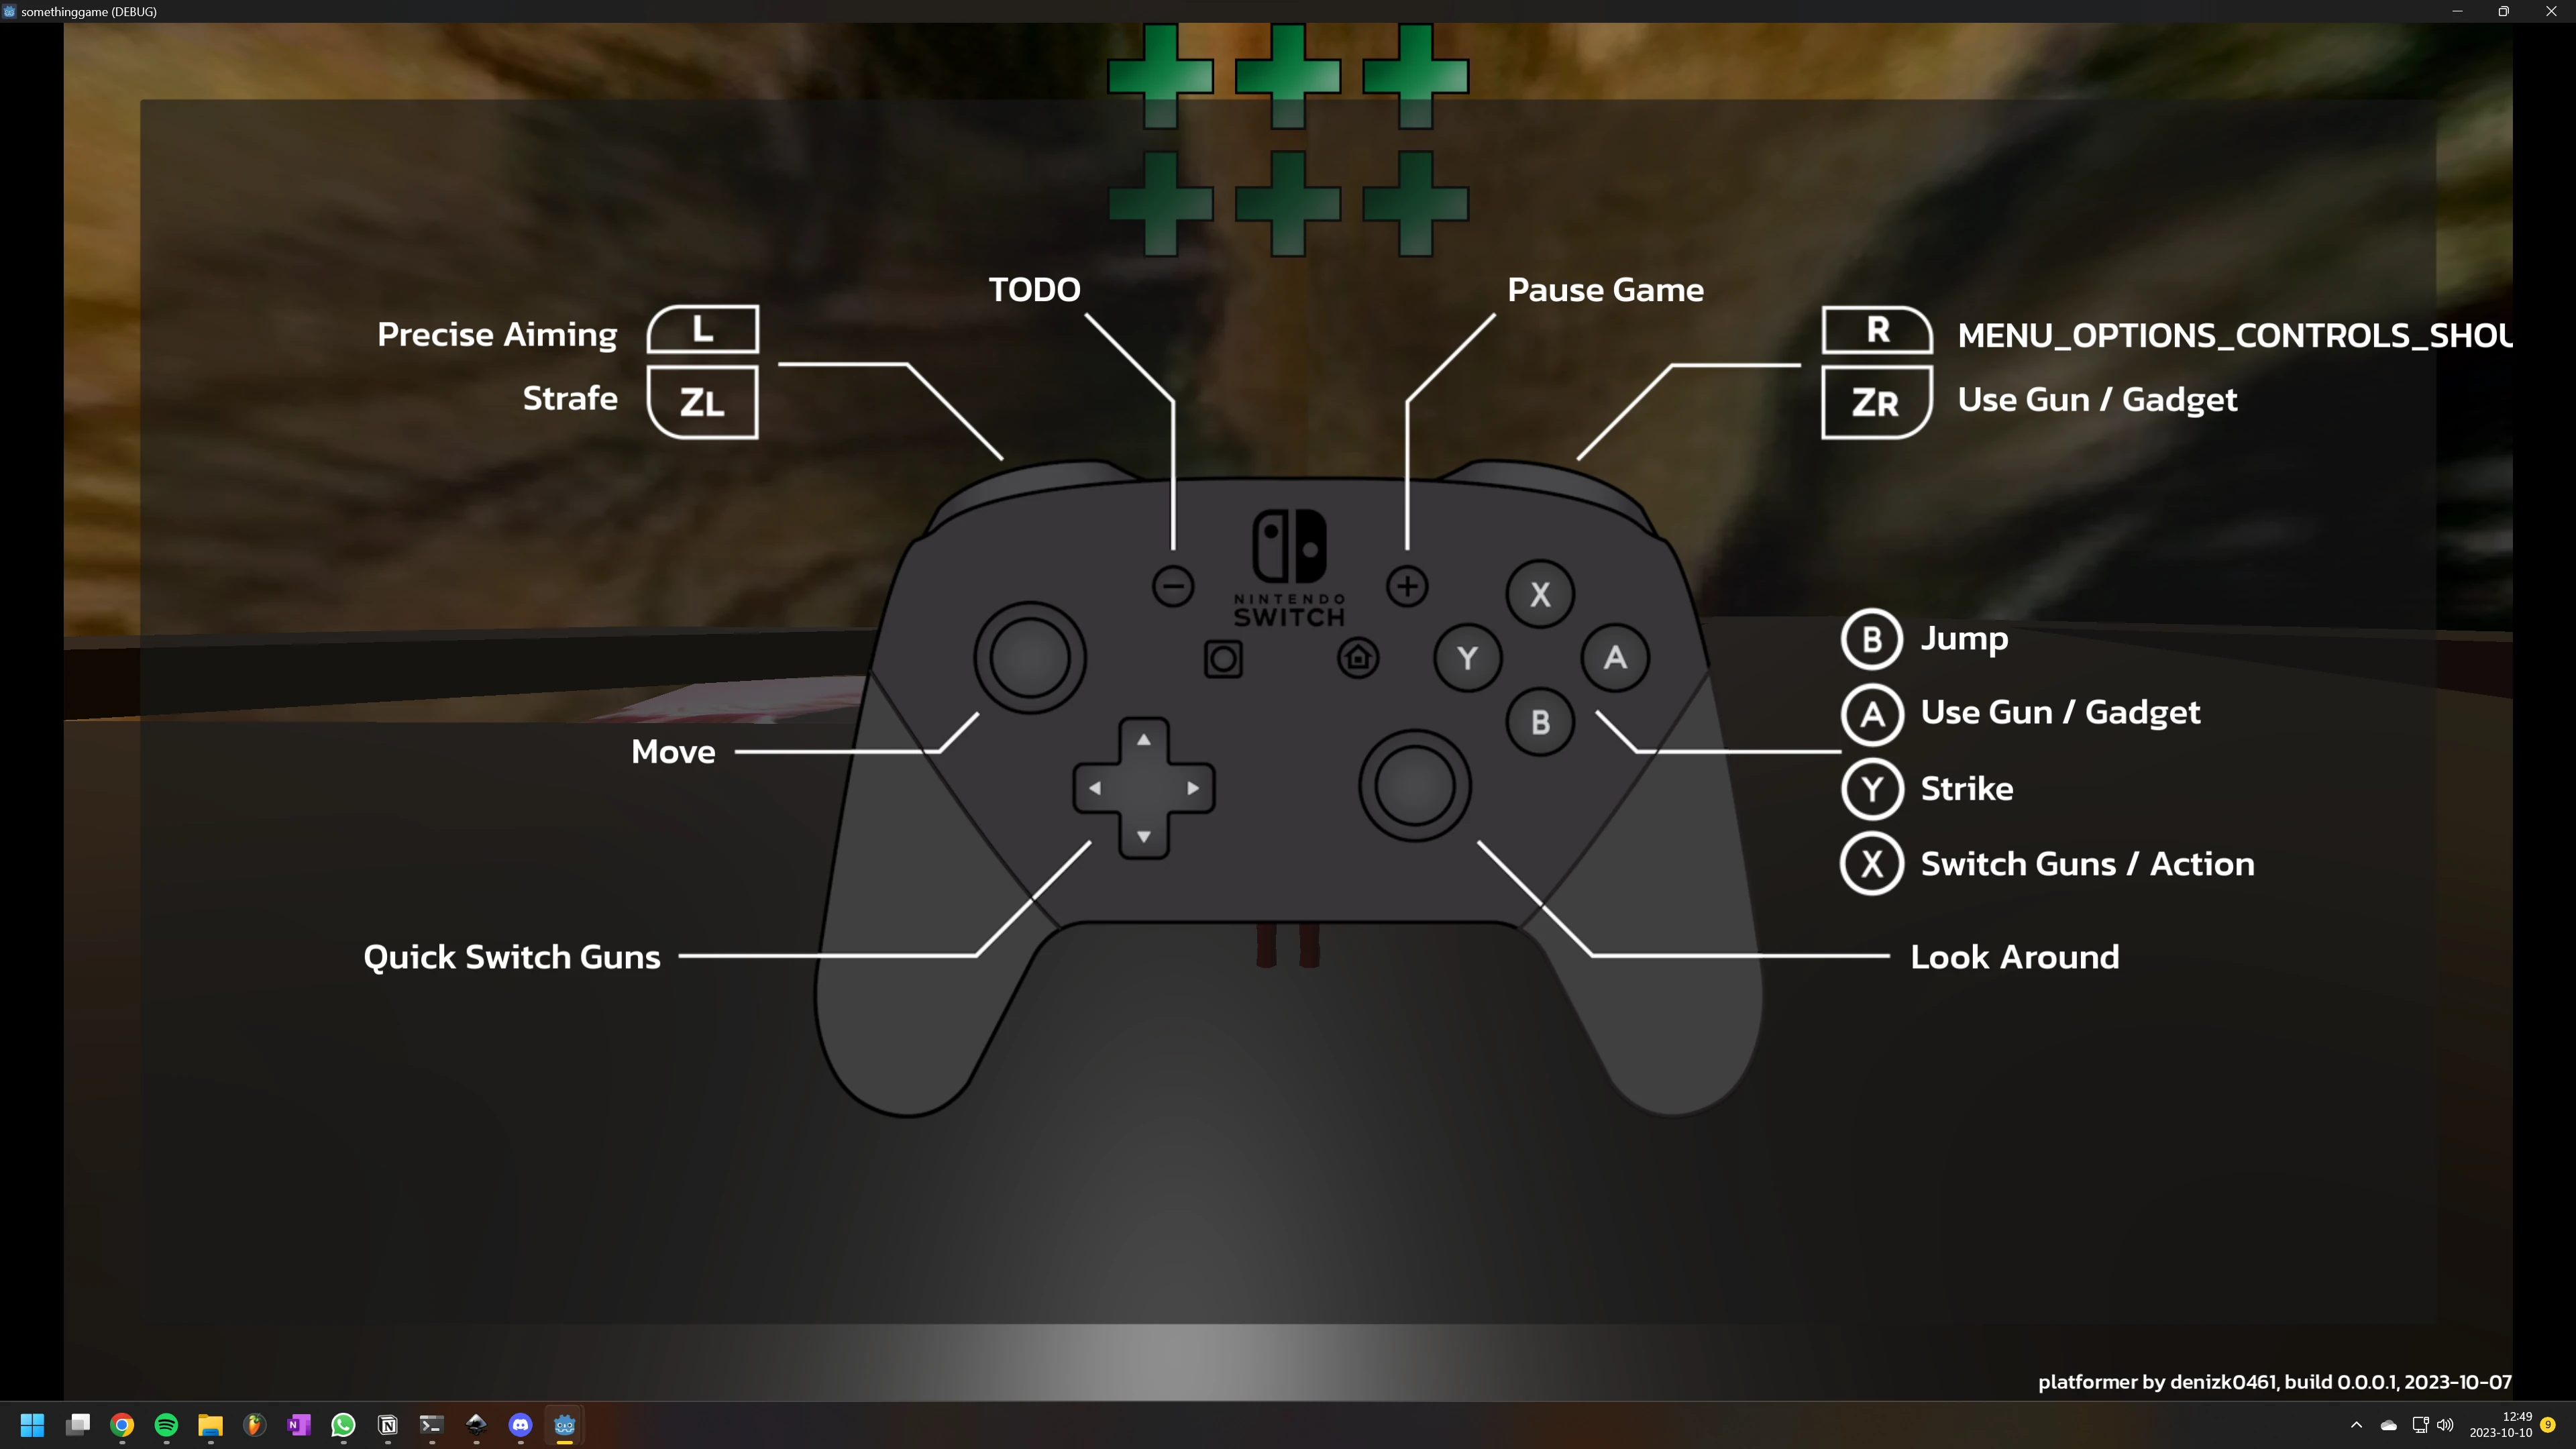
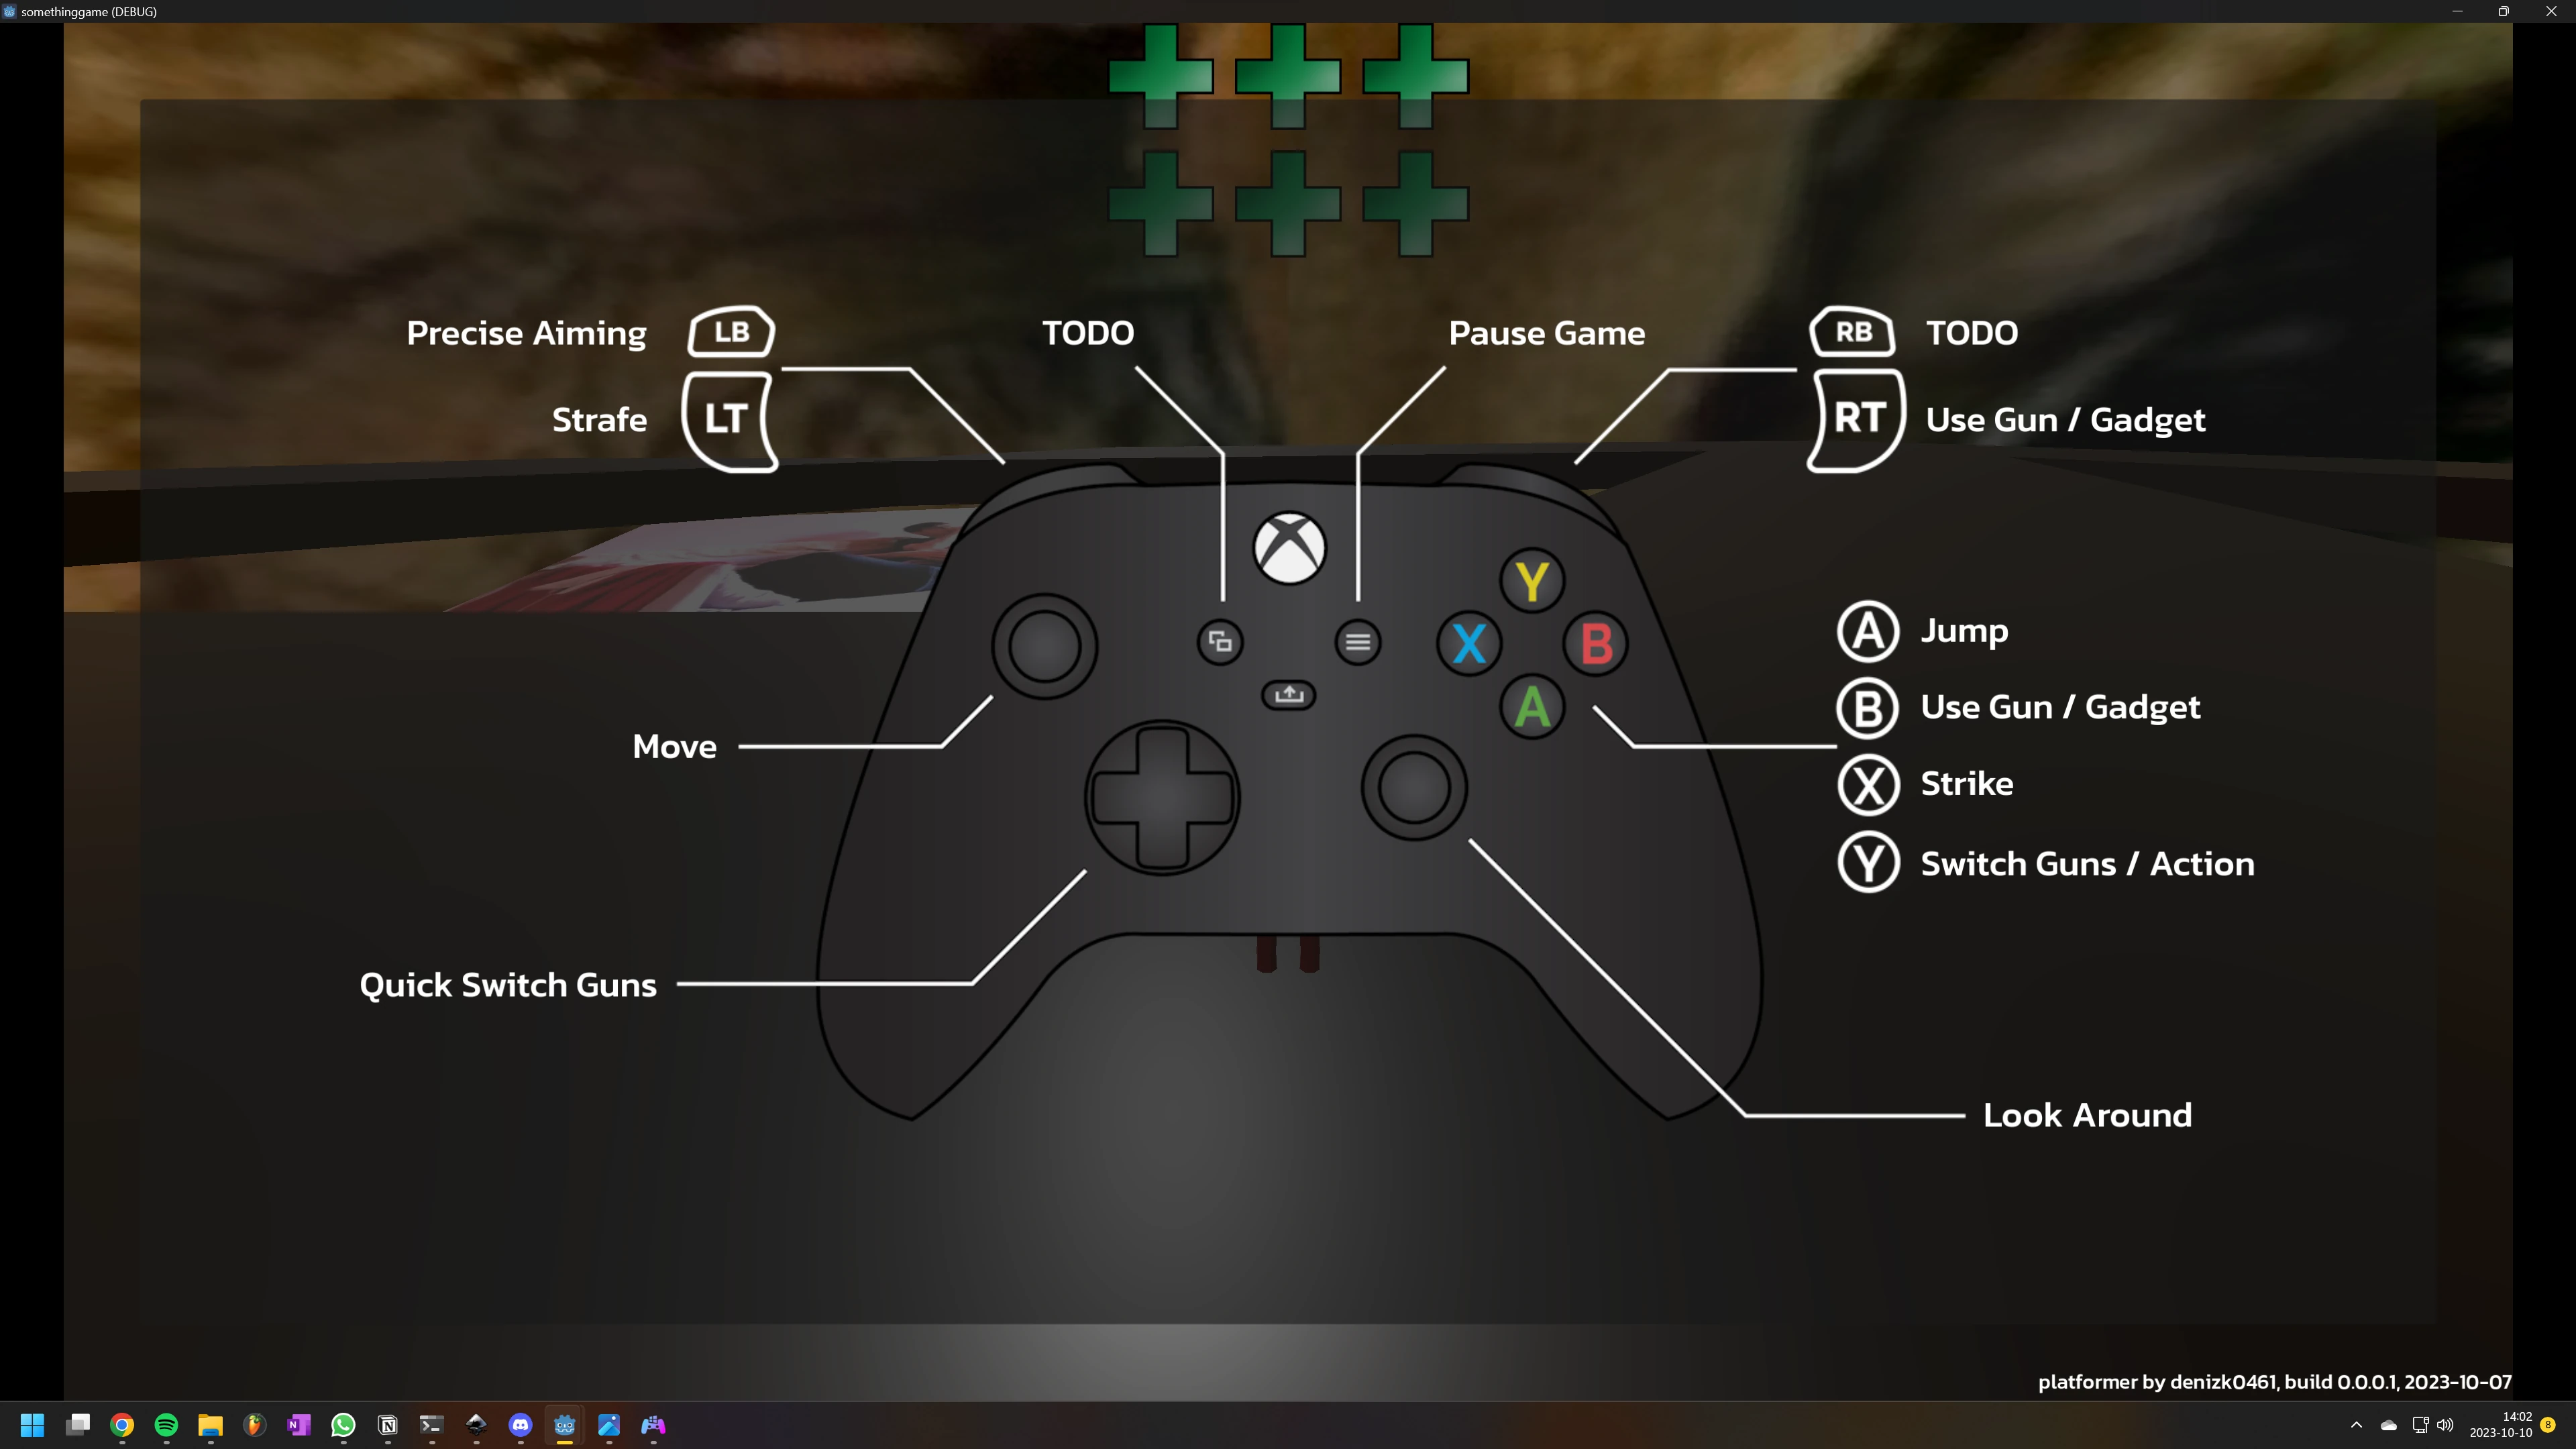
What Are the Controls??
We have a controls screen! This task would have been easier if the game was specific to a console, thus necessitating only one controller layout. Instead, I used Godot's Input.get_joy_name() function to retrieve the first connected controller's name, and use that to display an appropriate screen. Current options are PlayStation (DualSense), Xbox (Series X/S), and Nintendo (Switch Pro Con). Keyboard/Mouse layout will follow soon(ish).
Specifying controller layouts for different controllers is difficult though, since I don't know the controller's names (I currently only have the following strings: “PS5 Controller”, “XInput Gamepad” (through emulation using DS4Windows), and “Nintendo Switch Pro Controller”).
Another difficulty is figuring out which controller layout to show if multiple controllers are connected, or when KBM is used even though a controller is connected. I currently check for the first connected controller, which means that, if multiple controllers are connected, the layout shown may be wrong. Furthermore, connecting a controller always overrides the KBM layout, since KBM is currently the default. A solution to this may be to check which controller last sent an input, and retrieving that controller's name.
Quick Select
I've done some work on the quick select menu to get it functional. The goal is to emulate its behaviour in the Ratchet & Clank games (duh). Current functionality is as follows:
The Quick Select menu opens when the E key (keyboard) or the North face button (controller) is pressed, and closes once the button is released. Using the Keyboard/Mouse control layout, the player is able to pick a weapon by hovering over it. The focussed weapon is equipped once the Quick Select menu is closed. Controller users point the left stick in the desired direction to focus on an item.
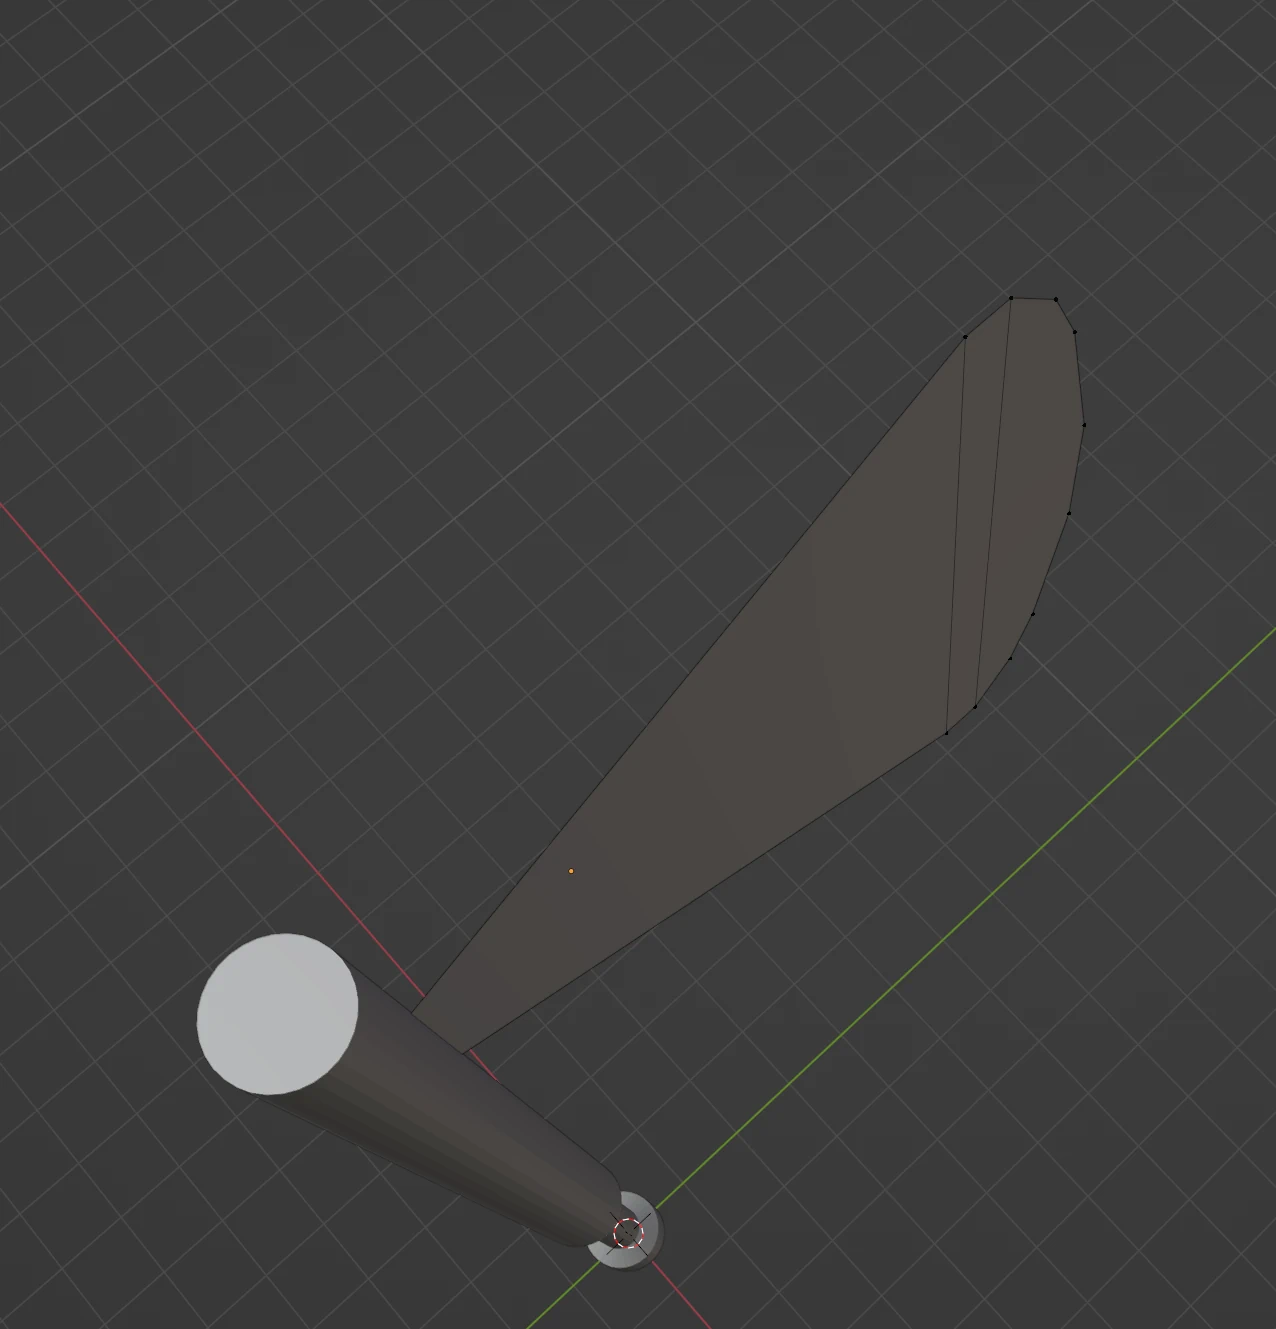
Heavy Weaponry
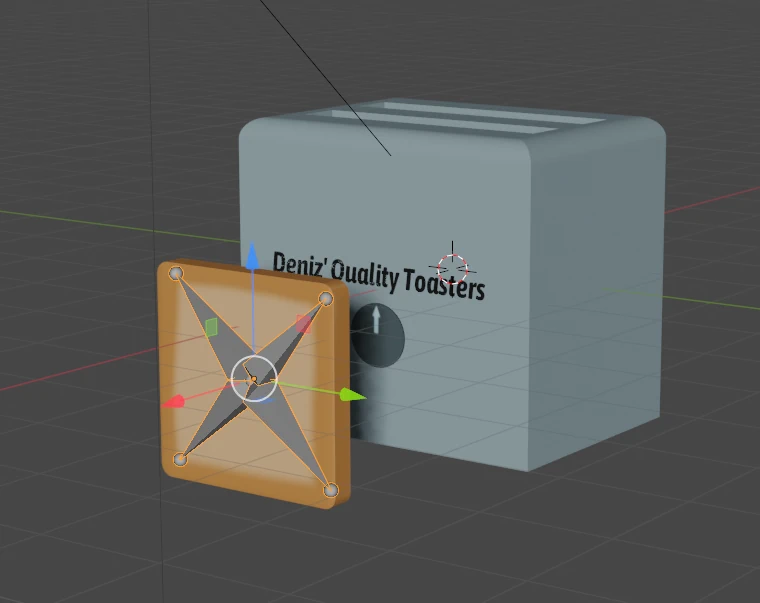
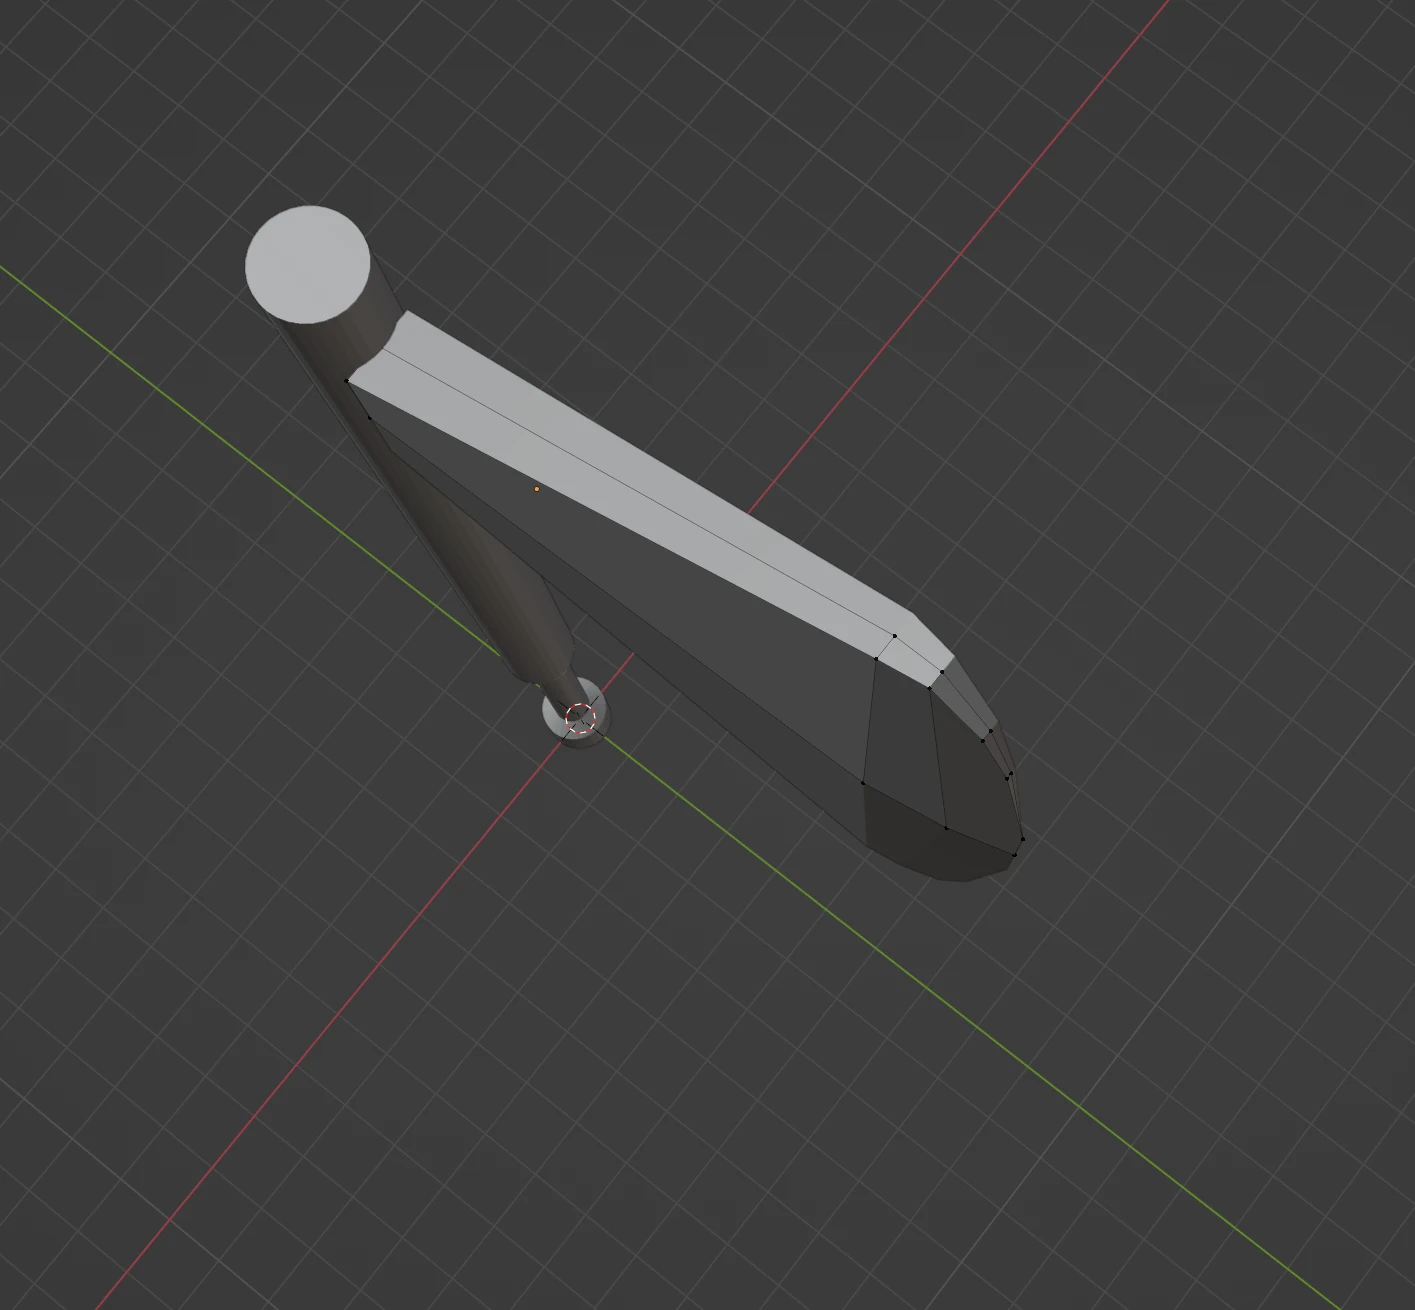
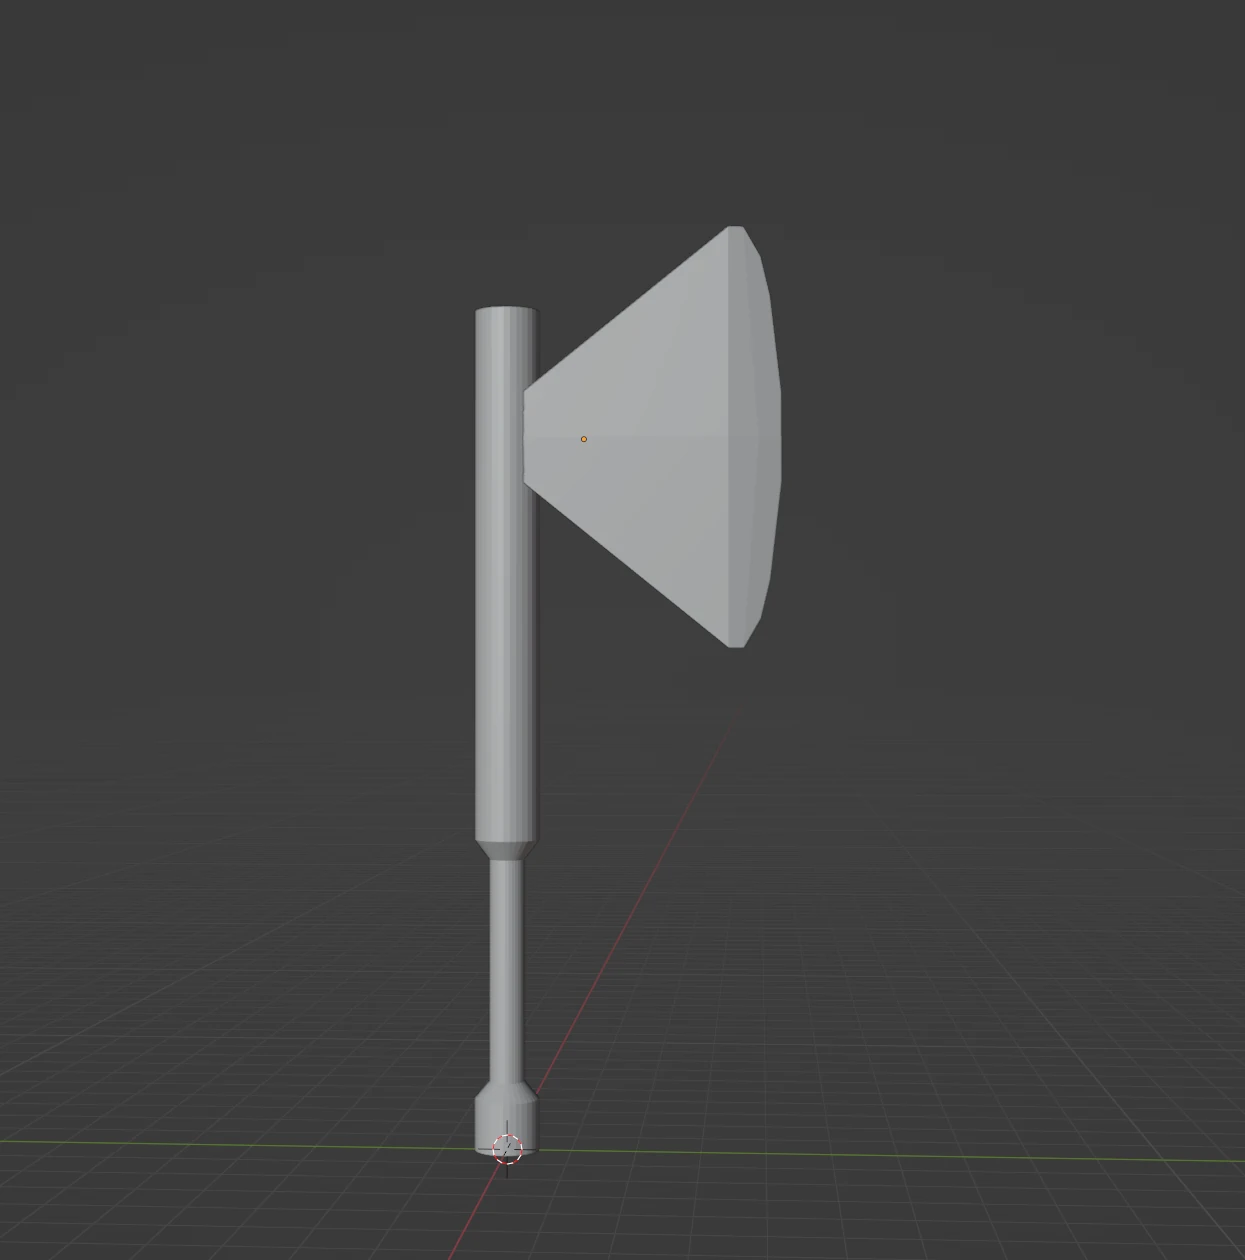
In order to get started with the 3D models I'll need to create for the game, I attempted to begin the process of modelling the weapon of the protagonist! It's supposed to become a battle axe, though I have not yet finalised whether I'll keep with the idea.
Hot, Fresh Quality
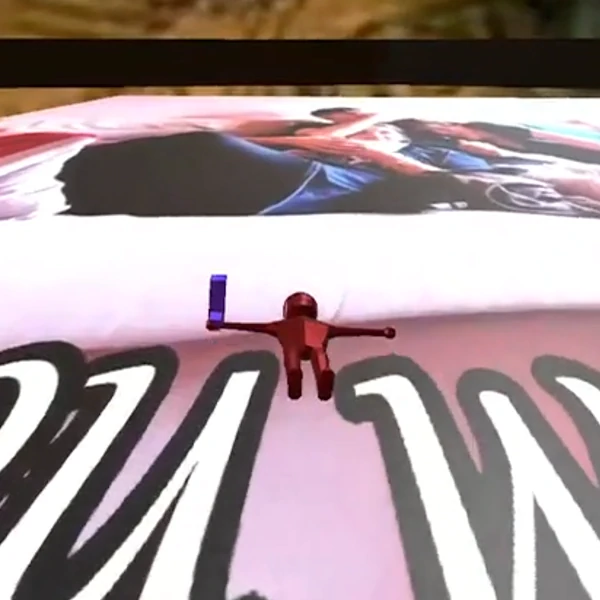
In order to test animation and rigging of arbitrary 3D models, I created these bread-centred animations. This obsession with toast came to me after a friend of mine and I took a test that determined which type of bread we are. Despite vastly different answers, our end results were both 'vegan biscuit.'
I like my bread with bones, thank you very much.