Project N5 Progress Update: 2024-12-22
» The Making of a Protagonist, Part II
I have lots progress to share!!
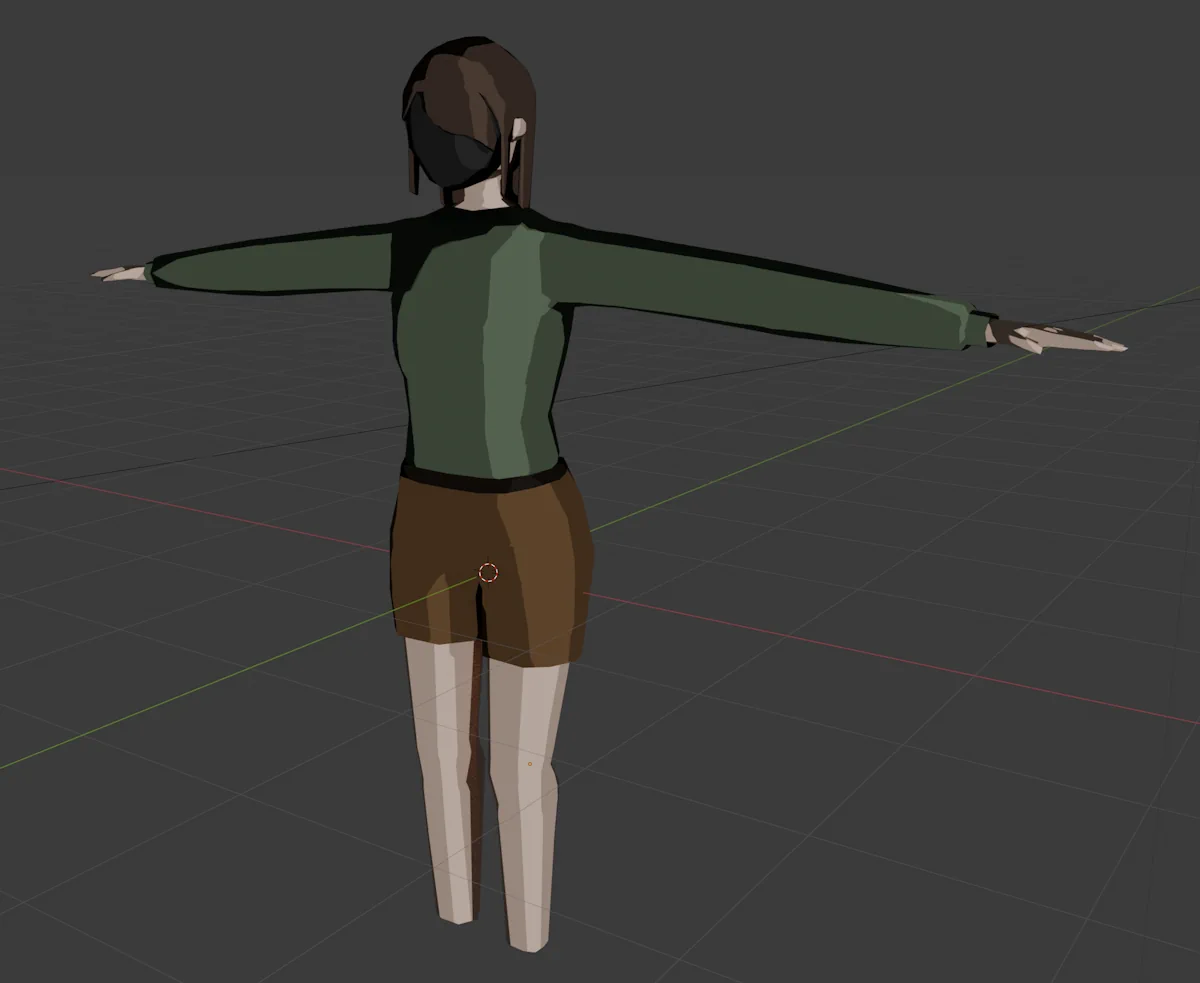
First things first: Laura is, unlike I promised before, not yet finished. However, I have made so much progress in the past few weeks that I just wanted to get out already. Here's a comparison between my last progress update and the current iteration of Laura:
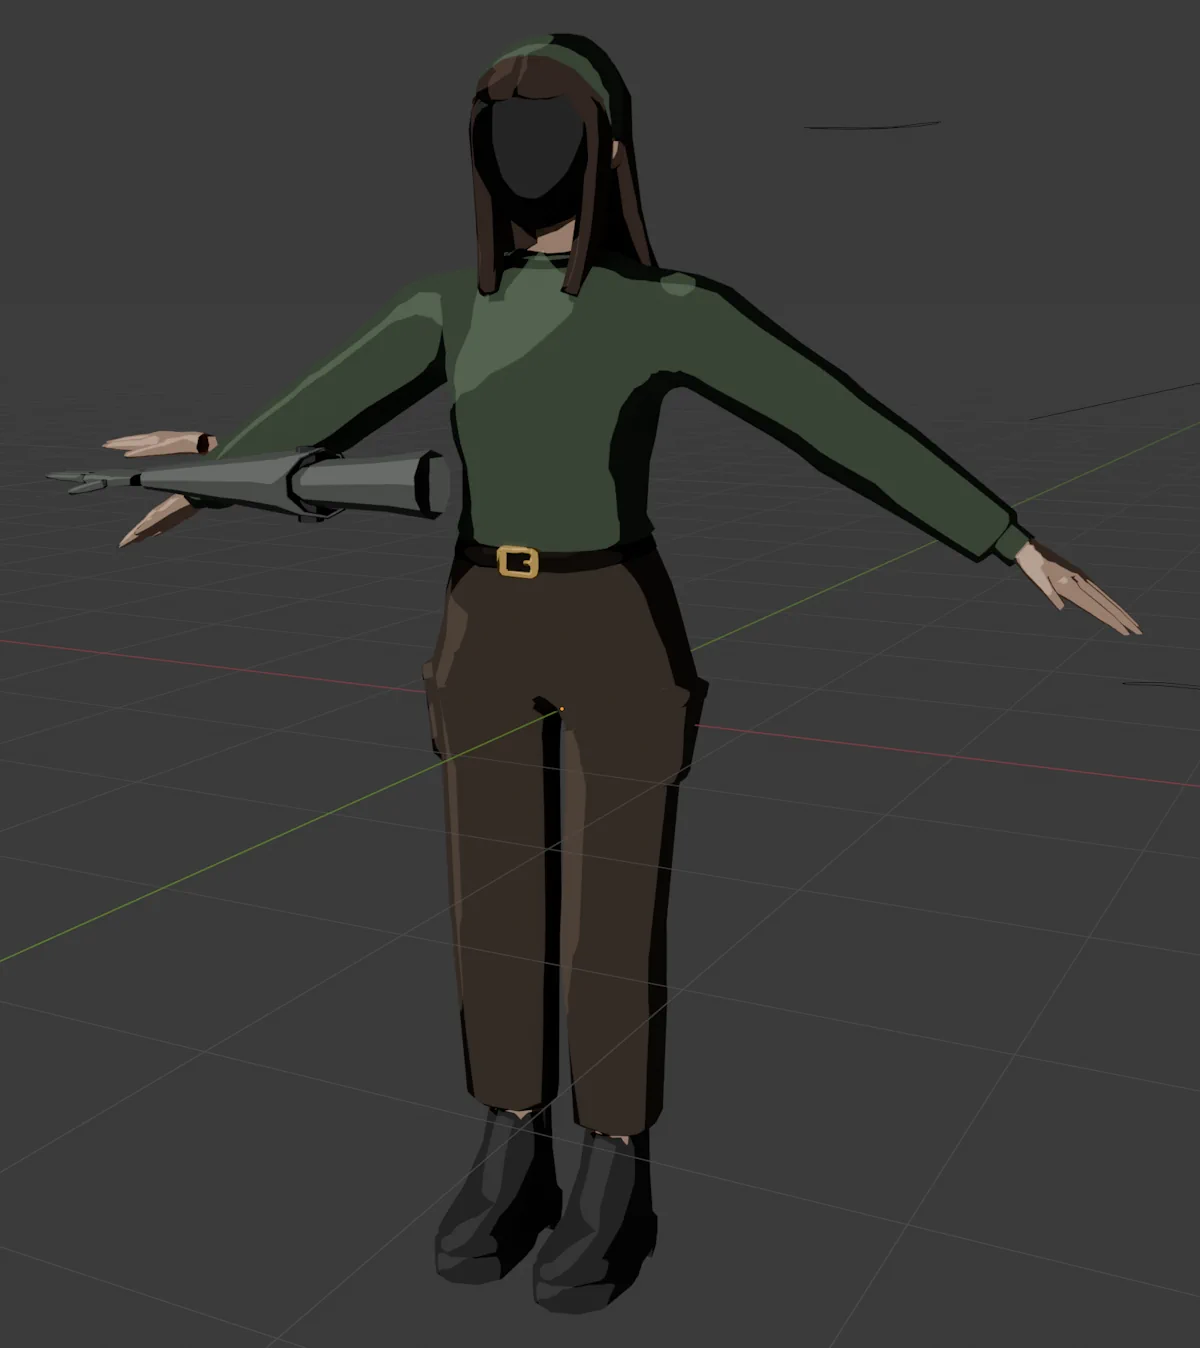
She's become an actual proper character!! omg omg
How We Got Here
So, what happened? How did I create this character?
I think what's most crucial is that I gathered influence, references, knowledge, and ideas from all kinds of places. Here's some:
- Creating Stylized Low Poly Characters in Blender by lacruzo. Shows the entire process of creating a low-poly character from scratch, and was the entire reason why my character got off the ground to begin with.
- Creating a low-poly character is actually kinda easy by SELS – topology of lower-poly characters. Also, how to create clothes and hair, UV unwrapping and texture painting, as well as rigging with a meta-rig.
- Optimal Edge Loop Reduction Flows on topologyguides.com helps understand how to efficiently transition between spots that require more edge loops for detail (such as hands) and meshes that are less detailed (such as arms).
Aside from that, looking at reference images of people, clothes, hairstyles etc. on the internet just helped a lot. I've dragged plenty of images of random people into Blender to use as shape references. It's much easier than trying to imagine how a human is supposed to look, because, to be honest – even though we all look at humans all the time, making one from scratch without reference (and without much practice) is nigh impossible.
Side note: Laura is not a low-poly character. Her mesh currently consists of about 8,600 tris. However, in trying to understand how topology works to create a humanoid shape, learning from low-poly character creation tutorials helps immensely imo. Low-poly characters rely on as few vertices as possible to display as much detail as needed. Going up in poly count is fairly straightforward – perhaps as simple as applying a subdivision modifier, if your model allows for it. Though for a video game character, I wouldn't necessarily recommend it unless you know what you're doing, because polygon count can quickly skyrocket that way.
Changes During the Creation Process
Clothes
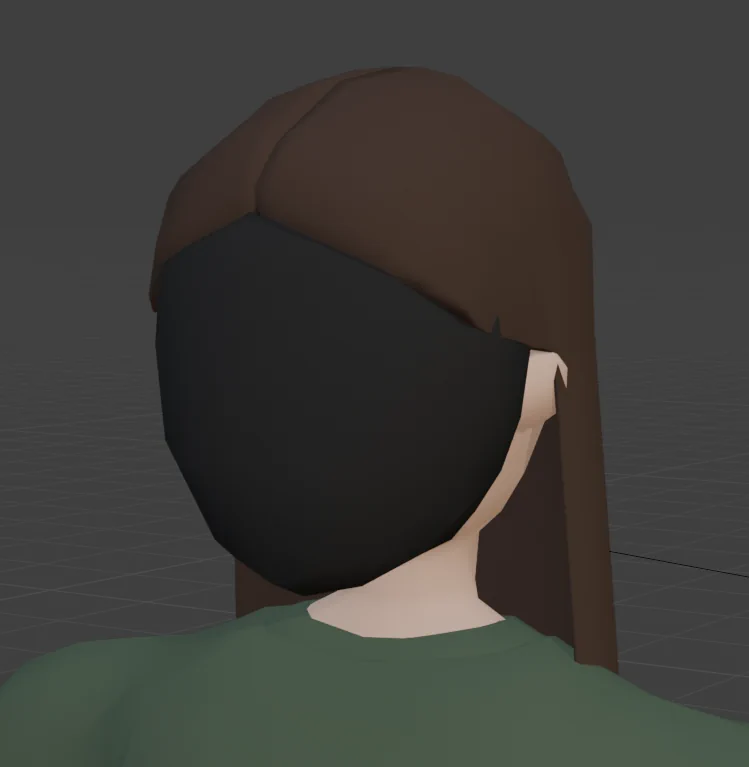
Laura was originally supposed to wear an orange sweatshirt as well as shorts. The orange sweatshirt was thrown out because the character reminded me of Velma from Scooby-Doo, and I changed it to green because I like green. Also, the shorts looked dorky. Here's a picture from 2024-12-01 – Laura oddly looks younger in this picture, I feel. The shorts and hair make a big difference.
Hair
Modelling hair has proven... challenging. What style to go with? What modelling technique to use?
The first try (seen above) was using the technique from this video – selecting faces from the character's head, duplicating them, separating them into their own mesh, changing the scale, adding a solidify modifier, and then adding faces. This... worked, but I didn't like the results. And I tried quite a few styles.
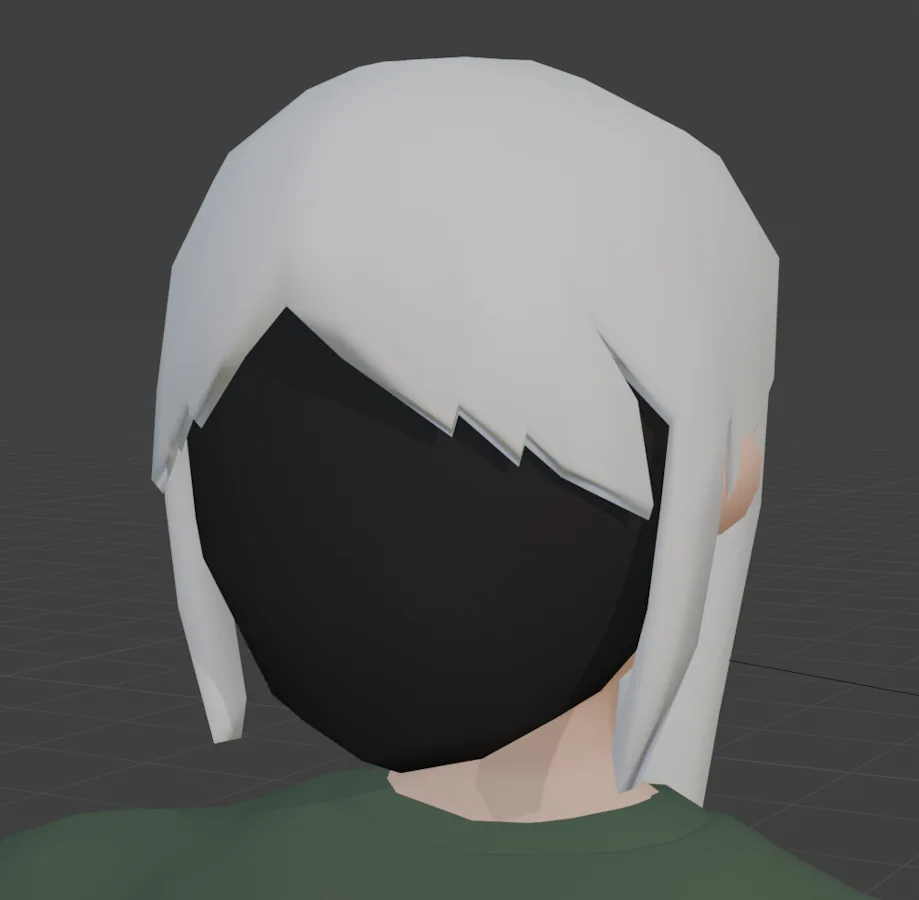
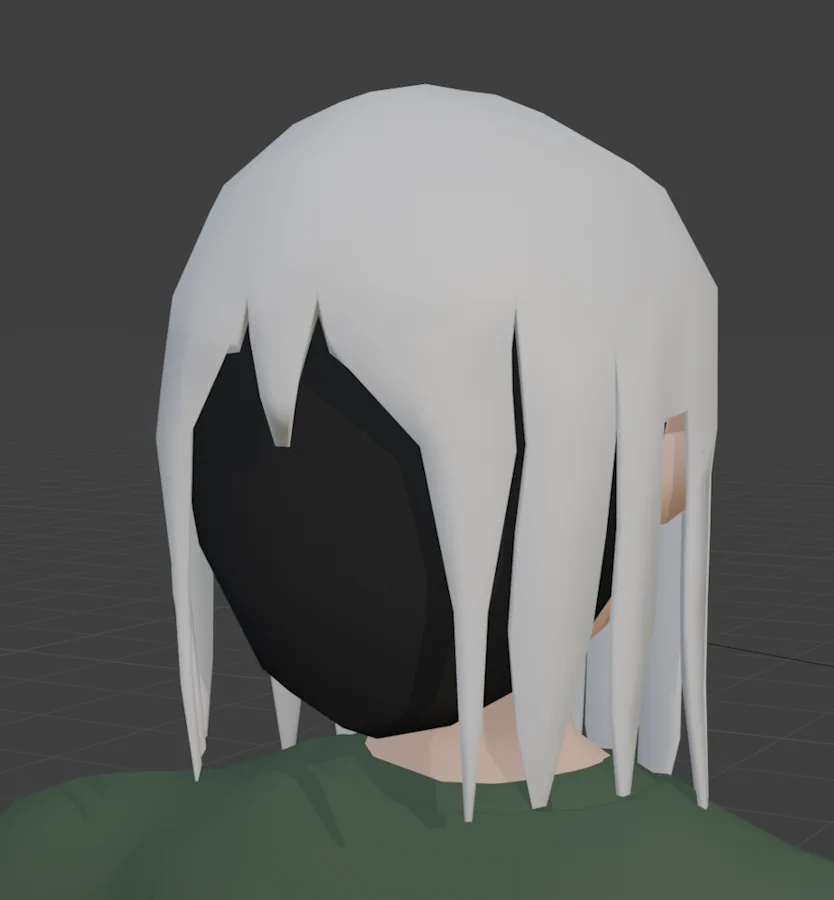

It always looked too flat, too shapeless, too boring, wrong cuts. It just didn't work.
Next up: a technique shown in these two videos: Blender: How to Make HAIR, Full Workflow by 2AM, and Easiest Way To Create Hair in Blender – 5 Minute Tutorial by YanSculpts.
Essentially, you create a curve and a circle, use the circle's shape as a profile for the curve, then change the circle's shape as well as the position and scale of the curve's vertices to create individual hair strands. Shown well in the two videos linked above, this can look pretty amazing! Only one issue: I'm creating a game character, and this technique is quite expensive, as it creates a lot of polygons for all the individual hair strands and the detail that goes into them. To mitigate this, I lowered the resolution of the profiling and used only a few curves to create an entire head's worth of hair. This looked a little like this:

This hair mesh originally (left picture) consisted of three parts: two curves at the front (left/right) and one in the back. This... was okay, but scaling the curves made the hair look weird. Thinner strands, especially when there's only a few of them, made them look more like dreads, and scaling up the vertices to large scales, as seen in the front near the top of the head, makes the hair look as if it's ballooning. Getting the shape right was a mess too: using only a single curve in the back meant that I had exactly one curve to cover quite literally half the head, and making sure that this singular strand of hair covered the head stretching from one ear to another was a pain. I tried using five curves (right picture), so that I have three in the back, but it didn't improve anything.
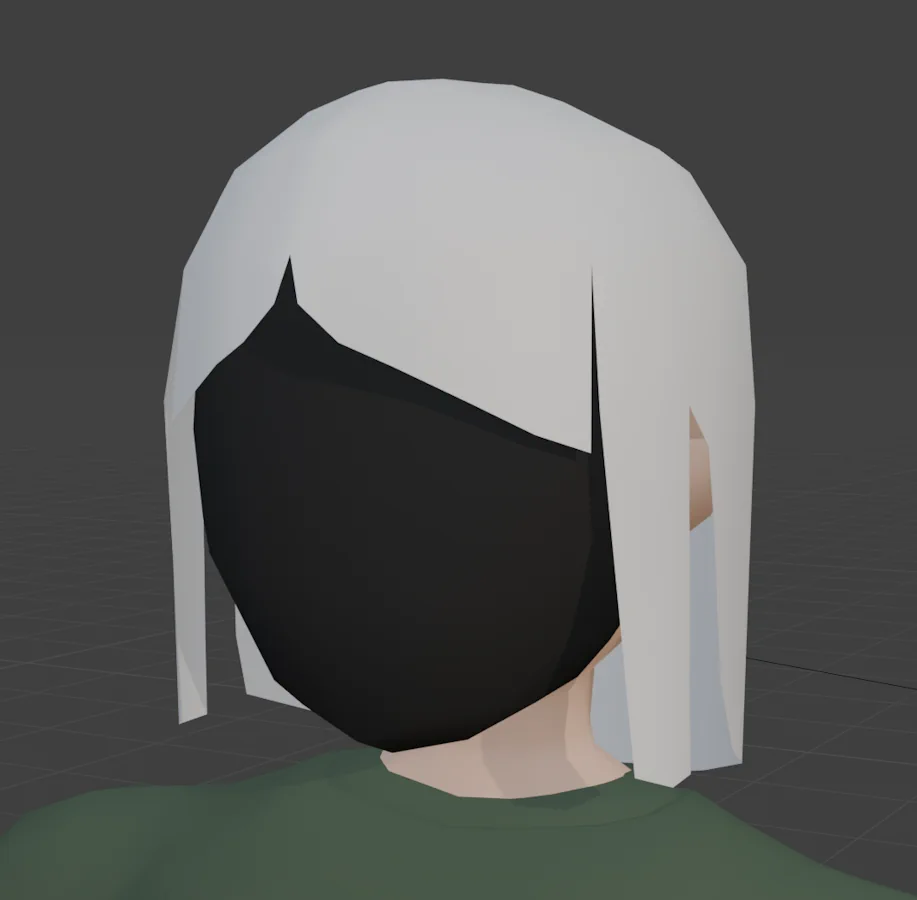
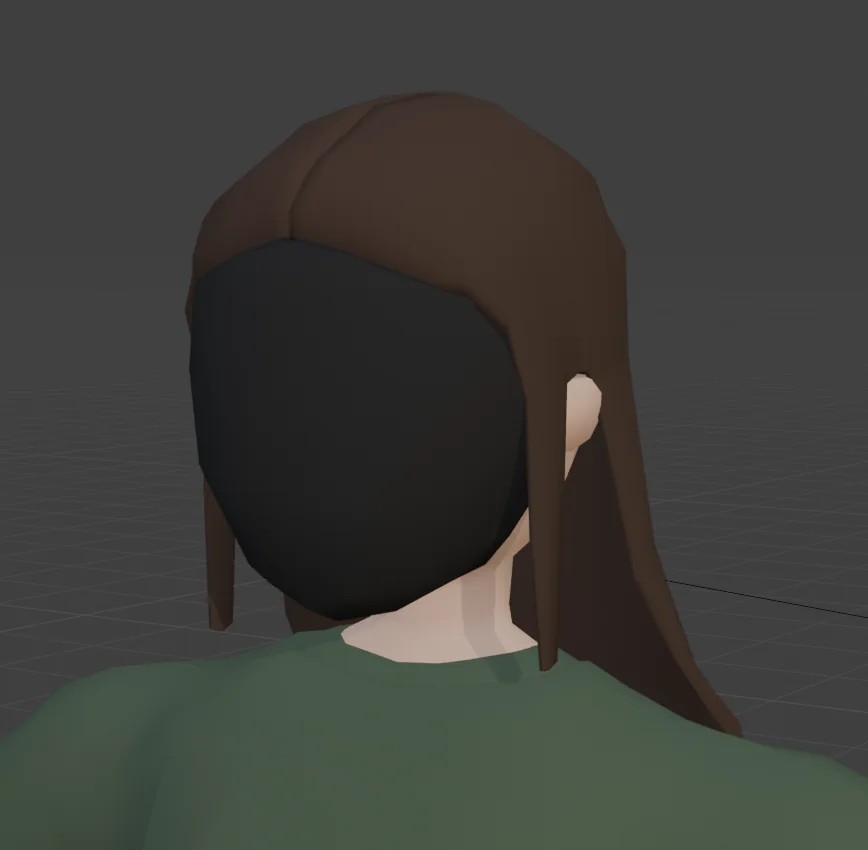
I then went back to the first method of scaling up faces from the head, with more knowledge and several tries behind me, and you know what? It actually kind of worked out.
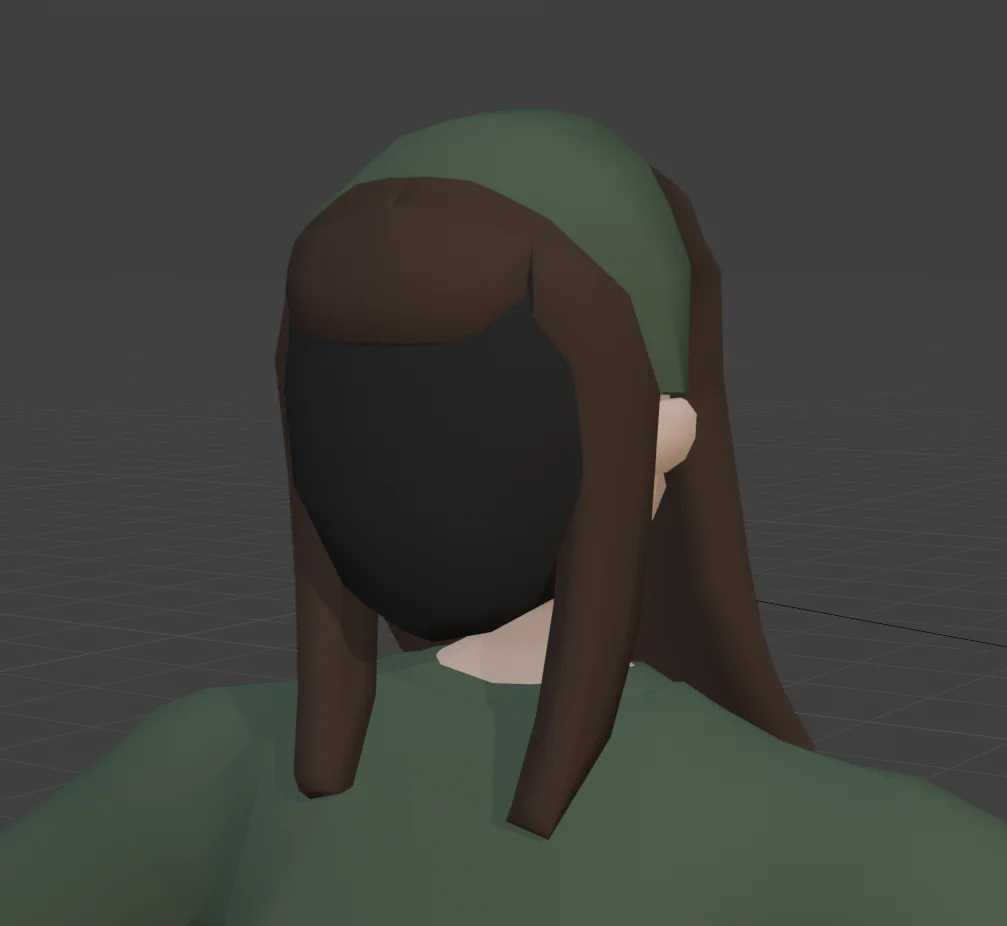
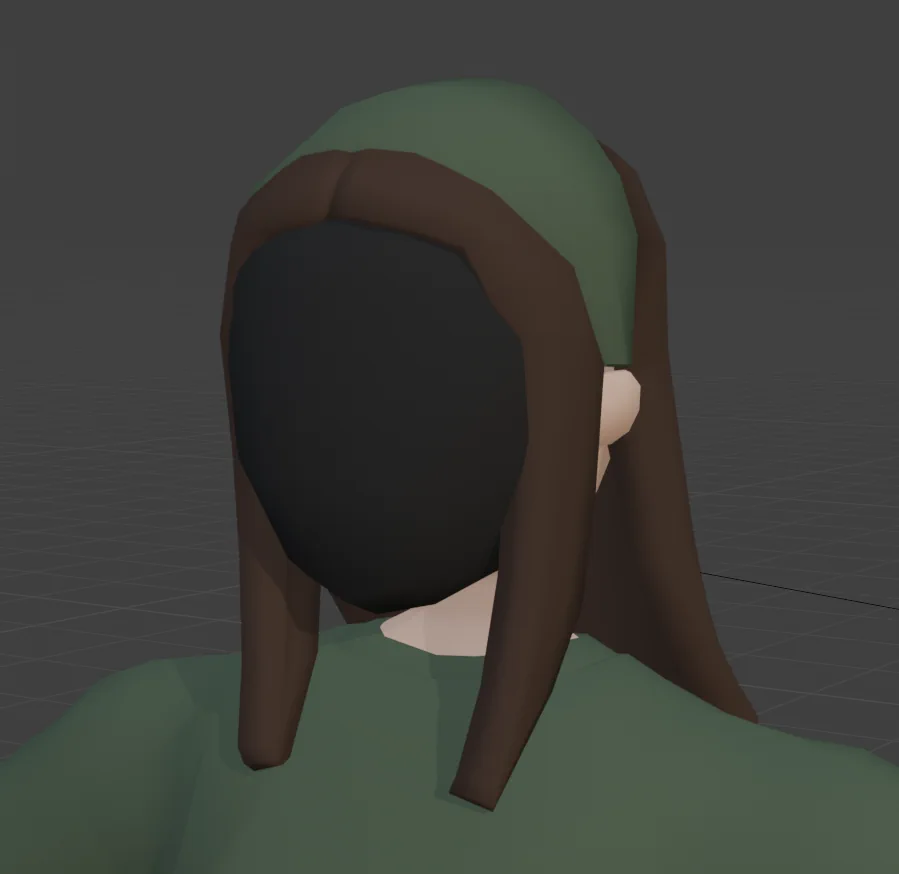
The right picture is the current iteration of Laura's hair. I added a head band because I thought it looked nice, though that detail is not final.
Even though I had created a hair style that looks fairly decent in a cel-shaded environment, I wasn't quite happy. So, today in fact, I checked out a tutorial on creating an anisotropic hair shader made in Blender by Lighting Boy Studio. It's really impressive! And quite complicated. Also, it's a Blender tutorial. While this is quite cool, I need shaders for Godot, since I'm creating a game, not a movie. To my surprise, someone already created a similar toon hair shader for Godot – SimpleToonHair by D3ZAX. It's exactly what I was looking for, and I really want to use this for Laura! Only one problem: this doesn't really work with her current hair mesh.
I decided that I want to create a hair mesh more similar to that shown on the shader's images. This mesh consists of several strands of hair, each two quads wide to create individual strands. Making something like that look cohesive is actually fairly easy too, since the cel-shaded style actually hides a lot of overlaps between meshes of the same colour.
Hair Animation
To create flowing long hair, I want to use the JiggleBones add-on. Using this add-on, I can add bones to the hair mesh in Blender, which will then be moved by the add-on whenever the character moves. It's essentially an inertia effect. I haven't tried this out yet, however.
Her Mask / Face Shield
Canonically, Laura is supposed to wear some type of respiratory device, because the hazardous conditions on her home planet do not allow her to sustain life without it anymore. I'm not quite sure yet whether this respiratory device will come in the shape of a full face shield or a partial face mask, covering her nose and mouth.
Part of why I want to integrate this is because... modelling is hard, and I imagine animating a face will be even more difficult. Realistically, I'm a single dev trying to make a game that's fairly large in scope, so I should try to reduce complexity if possible. However, I have not yet decided whether I want to give Laura eyes. Eyes would make her feel more alive, I think, but again, it adds additional complexity. Also, I'd have to create eyes without using any textures, since I set out to create a game with as few image textures as possible (hopefully 0) to, again, avoid some complexity that comes with creating textures. I think it would be doable.
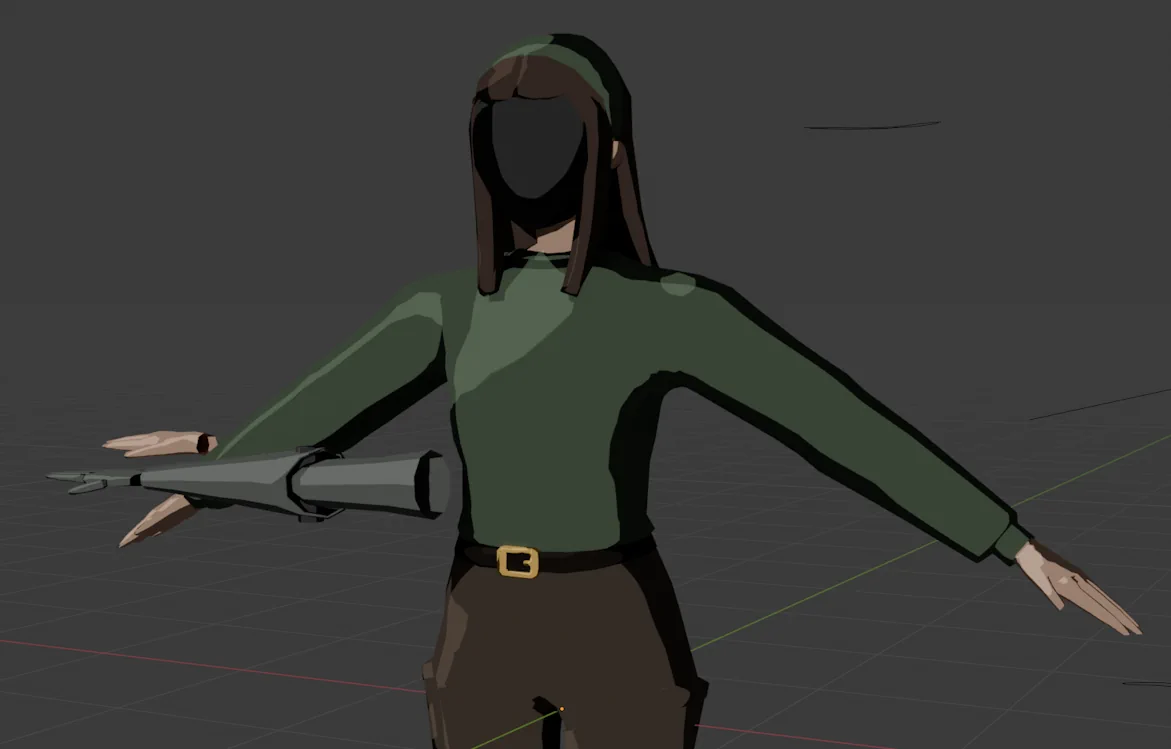
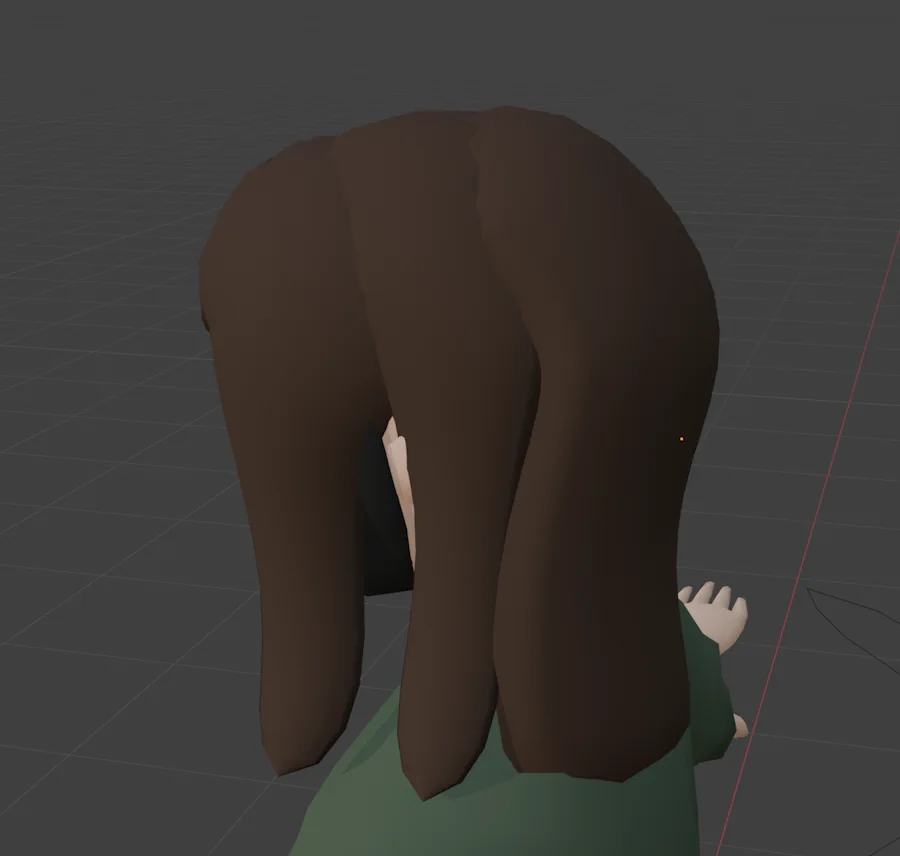
Her Right Arm
Laura's supposed to have a mechanical right arm – on the current model, however, I have applied a mirror modifier, which means her left and right arms are identical. The grey mesh in front of her right arm, however, is the work-in-progress mechanical arm.
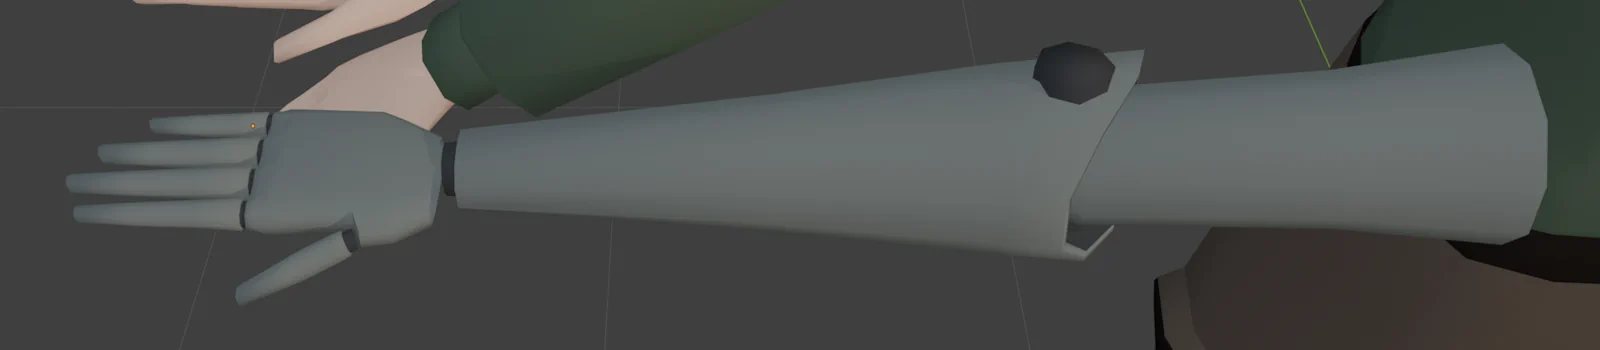
I'm not entirely happy with this yet. The general shape of the arm is relatively decent, the hinge looks ok, but I feel it's missing something. I think I want to add LEDs to the arm, which in-game can serve to display Laura's health status (alongside a more clearly legible health UI element).
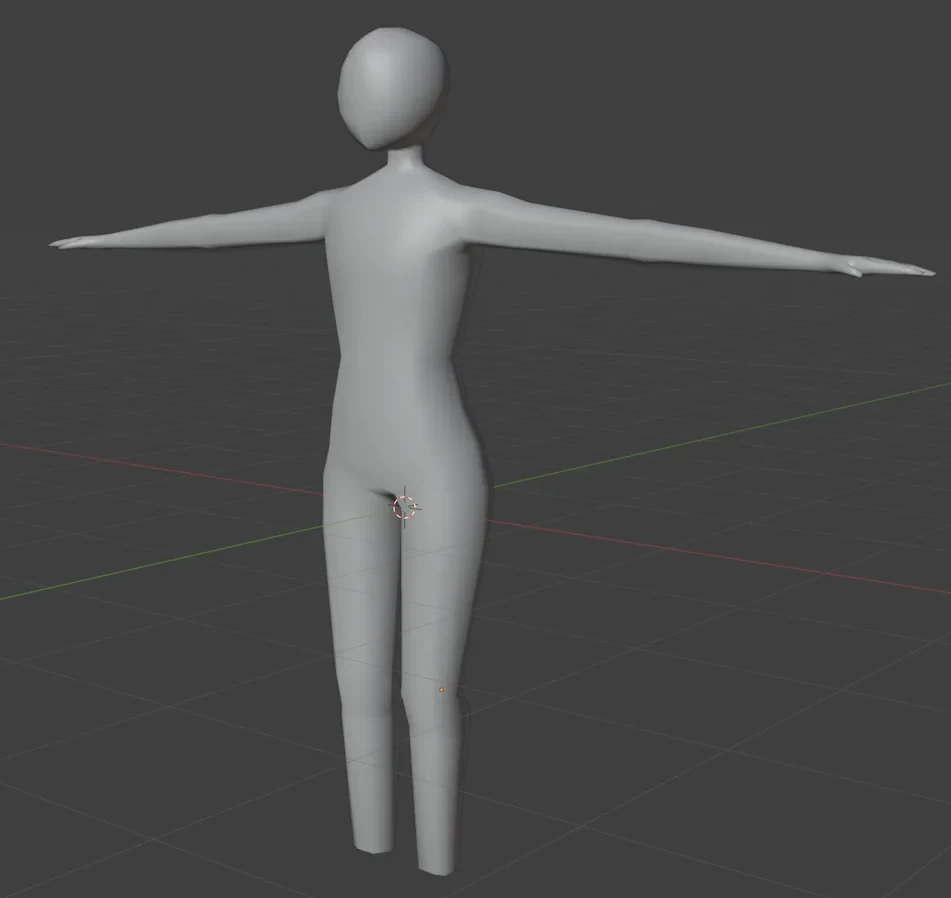
Modelling Pose
Influenced while I was researching a tangential topic on a Blender forum, I read up on A-pose versus T-pose when modelling 3D characters. From what I could gather reading the forum, the T-pose is mostly used because it's convenient for modelling orthogonally. However, the A-pose is preferable, as it better preserves the shoulder mesh. When modelling in a T-pose, the character's shoulders are stretched fairly unnaturally, whereas the A-pose puts the arms further towards a more natural, relaxed pose, which means that the shoulder mesh is not stretched quite as significantly when the character has their arms hanging down.
To illustrate my point (get it?), here are some pictures. Left is in T-pose, right is in A-pose:

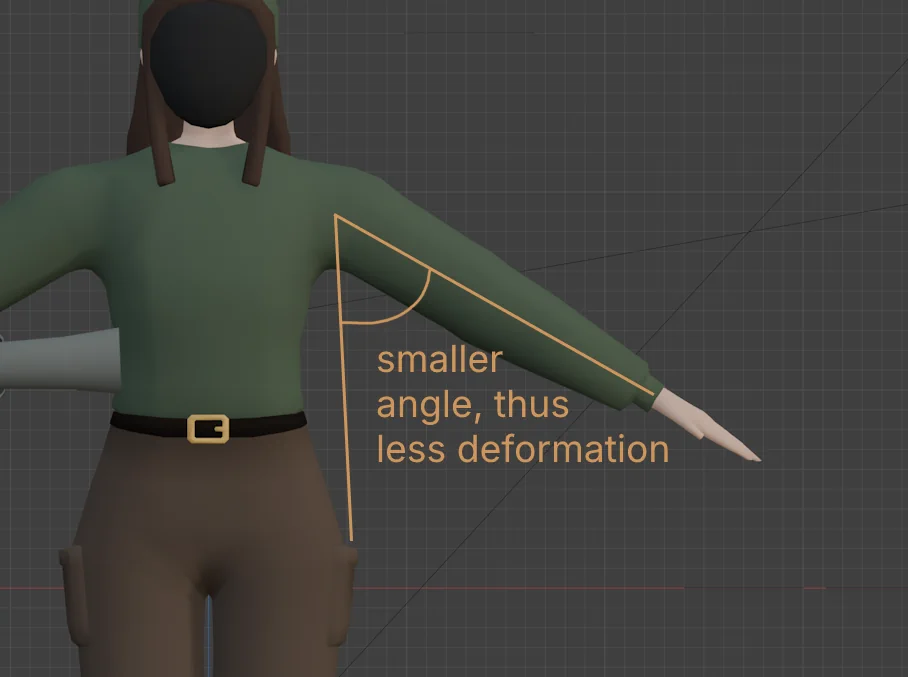
However, after watching this video on bind poses by Doodley, it seems that... it doesn't really matter. Whether you use the T-pose, the A-pose, the lovingly-called hug-pose, or anything else really depends on what you plan to do with your character. Since Laura will mostly wield guns and keep her arms fairly low for most of the game, I decided to change Laura's modelling pose to an A-pose, with her arms pointed 30 degrees downward.
What's Next
- Create a new hair mesh that looks and flows nicer and works better with the anisotropic toon hair shader.
- Adjust the hands (they look decent but I want them to look just a slight bit better).
- Finish the mechanical arm and attach it to Laura.
- Learn how to assign multiple meshes to a single skeleton – this will serve to swap between this more casual outfit and the eventual armour-type outfit.
I suppose that's mostly what I've been up to. There's not been much going on in the Godot project, though I'm preparing for bigger changes. I want to refactor the weapon scripts, for instance – I tried to make them more modular at one point, having different scripts for Throwers, Semiautos, Automatics, but it made things pretty convoluted. I'll see if I can fix this up to make adding weapons into the game more streamlined.
Also, I'm changing the way weapon stats are put into the game. Currently, data for the individual weapons such as damage, fire rate, vendor price, max ammo, etc. is stored in three different places – two different nodes attached to the weapon itself, as well as a singleton instance holding some additional data. My current idea was to transfer all of this data into a single CSV file, where I can neatly and easily add and change values as I see fit. This CSV data can then easily be imported into the game and used wherever needed I think that'll be a huge quality of life improvement during development.
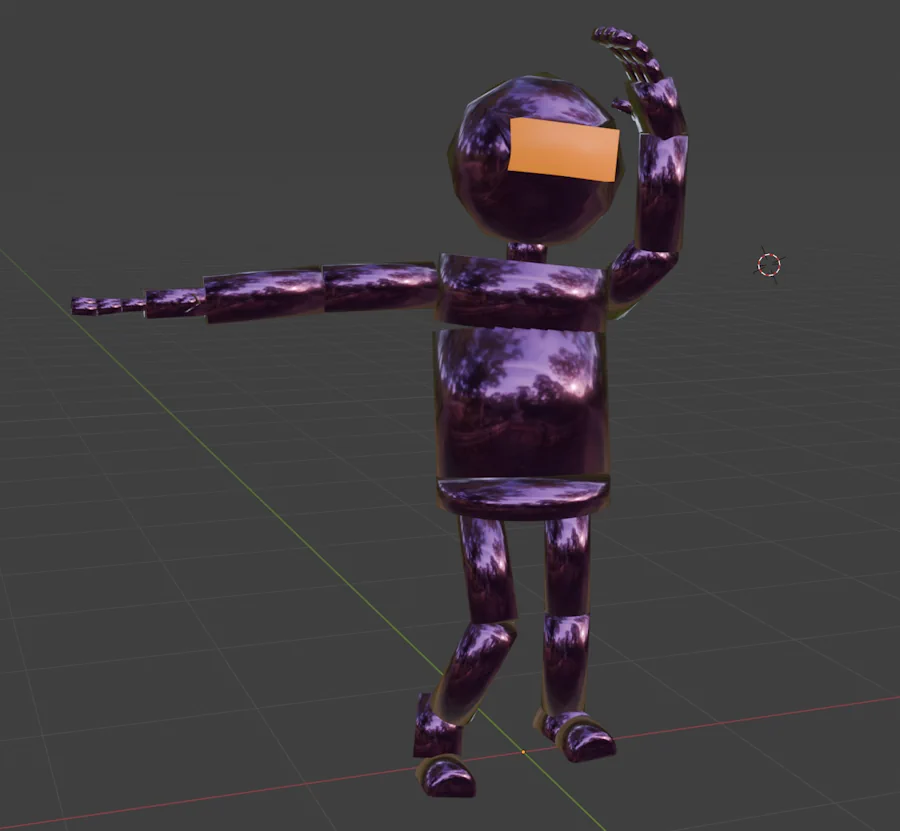
For the time being, here's a picture of the soon-to-be-retired current protagonist character. Smoothly shaded for your viewing pleasure.